Pages

Hiển thị các bài đăng có nhãn tomato. Hiển thị tất cả bài đăng

Thứ Bảy, 3 tháng 8, 2013

The Road Taken


I started writing this post over a month ago. Since then I have started and stopped quite a few times. Then I just stopped. And stared. Nothing. Then I started again, but didn't know where to take it. I wasn't sure why. Normally once I start something, anything, I stay right with it until I finish. But this one is different. Change is afoot.

Like many writers, I often grapple with how much, or how little, to expose about myself here. To you. I like to talk, I like to tell stories, I like to share. It helps me process. It helps me see. I used to be religious about writing in my journals, almost excessively some days. In a sense, this has become my journal. The big difference is there is now an audience. An audience with reactions I cannot gauge while I 'talk'. For the most part I keep things on the lighter side, but I assure you that this voice is mine and mine alone. If you met me, that would be clear within moments. This voice is more disciplined, however, and part of an identity I am able to control.

Here I tell you about me, but within the framework of food and within the realm of my kitchen, or, perhaps, someone else's kitchen. I will tell you about Fred, or Besito, or anecdotes about any number of members of my family and certainly friends that come in and out of the spotlight at any particular time. And from all of that, and the years we've known one another, I can imagine you have gleaned quite a bit about me.

I have been hinting about some big news and I'm finally ready to tell you about it. At the end of September, after twelve years in the City of Angels I will be moving back home. And by home I mean Richmond, Virginia. I will not be alone, however. My love, Fred and our pups, Besito, Eduardo and our newest addition, Byron, will all be moving together. Our little family is going to join my Richmond family and the horizon is enormous.

I am not sure if you knew this, because I know I've never told you, but I have owned a dog walking business for the past decade. It has been quite successful and very good to me. This business has been the most solid, consistent, dependable and reliable thing I have known during my life in Los Angeles.

So, at almost forty years old, I am selling my business and am moving clear across the country. To do what? I'm not entirely certain, but the idea is a lot more of this. Writing. Cooking. Eating. Food. Recipes. Pictures. With Fred.

And there you have it.

I feel a little bit naked now. But good naked.

And relieved.
One very, very fun and exciting part of all of this is the actual journey. We will be driving and taking our time. Specifically, this will be a culinary journey from California to Virginia with a huge focus on the South. In the cities where we don't know people, we hope to rely on folks we know via social media to assist us in finding our next meal, or interview, or as Fred wants to do, a place for us to cook with locals; both home and professional chefs, and in both homes and restaurants. Part of the thrill of our cross country trip is the serendipity involved. We know that we will have food adventure and discovery that we are not even aware of at this moment. The best part is that we will be documenting everything as we go along.

I hope all of you get involved. Tell us where to go and what to eat. Better yet, if our paths cross, let us meet! And cook! And eat! Let's all do this together, shall we?

And, OMG, what should our hashtag be?!

In honor of this post I thought long and hard about what dish to share with y'all. Fred suggested I make something I've never made before, in the spirit of the unknown road ahead (very Robert Frost of him). I wanted to do something that represents what is happening with food here in LA then and now, so to speak, and food that signifies where I'm from and where I'm going: The South.

I settled on what I will call a Low Country Benedict: fried green tomatoes with Smithfield ham, poached eggs and a pimiento cheese hollandaise. Oddly, I have never made fried green tomatoes. And this summer my fecund garden is bursting with tomatoes – red, yellow, orange and green. When I think of eggs Benedict I think of the LA from the eighties, think LA Story and people lingering over coffee, mimosas and bloody marys and fancy, bougie French fare wearing sunglasses, white linen and big hats. That said, southern food is so, so, very, very en vogue here in LA (and everywhere) right now. Think Willie Jane and The Hart and the Hunter's entire menu, , A-Frame's fried chicken picnic, Son of a Gun's pimiento cheese with Ritz crackers,Lucques' annual rib-fest, everyone's deviled eggs, and so on. And perhaps most obviously, fried green tomatoes are, and have been for quite some time, very prominent in the south.

And so without further ado...

Fried Green Tomato Benedict with Smithfield Ham & Pimiento Cheese Hollandaise

Makes 4 servings

Ingredients

4 thin slices of Smithfield ham
2 tablespoons chopped chives, for garnish
4 eggs
2 teaspoons white or rice vinegar
4 large slices of fried green tomatoes
Salt & freshly cracked pepper

Pimiento Cheese Hollandaise

8 tablespoons (1 stick) unsalted butter
4 egg yolks
1 tablespoon lemon juice
4 teaspoons powdered cheddar cheese (found in your standard mac n' cheese package)
1 4 ounce jar of pimientos, chopped
Dash of cayenne or tabasco
Dash of Worcestershire sauce
Salt to taste


Directions

Start with the fried green tomatoes. Recipe below. Once they're cooked, keep them in the oven on warm until you're ready to assemble the dish.

Next bring a large saucepan two-thirds-filled with water to a boil, then add the vinegar. Bring the water to a boil again, then lower the heat to a bare simmer.

Make the pimiento cheese hollandaise. Vigorously whisk together egg yolks and lemon juice in a stainless steel bowl until the mixture is thickened and doubled in volume. Place the bowl over a saucepan containing barely simmering water (or use a double boiler); the water should not touch the bottom of the bowl. Continue to whisk rapidly. Be careful not to let the eggs get too hot or they will scramble. Slowly drizzle in the melted butter and continue to whisk until the sauce is thickened and doubled in volume. Remove from heat, whisk in powdered cheese a teaspoon at a time, Worcestershire sauce and cayenne. Stir in the pimientos. Cover and place in a warm spot until ready to use for the eggs Benedict. If the sauce gets too thick, whisk in a few drops of warm water before serving. Salt to taste

Poach the eggs. Here is  an easy method for poaching eggs. Essentially, working one egg at a time, crack an egg into a small bowl and slip into the barely simmering water. Once it begins to solidify, slip in another egg, until you have all four cooking. Turn off the heat, cover the pan, and let sit for 4 minutes. (Remember which egg went in first, you'll want to take it out first.) When it comes time to remove the eggs, gently lift out with a slotted spoon. Note that the timing is a little variable on the eggs, depending on the size of your pan, how much water, how many eggs, and how runny you like them. You might have to experiment a little with your set-up to figure out what you need to do to get the eggs exactly the way you like them.

Gently remove the eggs from the poaching water and set in a bowl. 

To assemble the eggs Benedict, put two fried green tomatoes on each plate and top each with a thin slice of Smithfield ham. You can trim the ham to fit the tomato if you’d like. Put a poached egg on top of the ham, pour hollandaise over. Top with sprinkles of chives and fresh cracked black pepper. Serve at once.


Fried Green Tomatoes

Ingredients

1  large egg, lightly beaten  
1/2 cup  buttermilk
1/2 cup  all-purpose flour, divided
1/2 cup  cornmeal
1 teaspoon  salt
1/2 teaspoon  pepper
1/4 teaspoon red pepper flakes
3  medium-size green tomatoes, cut into 1/3-inch slices
Vegetable oil
Bacon drippings
Salt to taste

Directions

Combine egg and buttermilk; set aside.

Combine 1/4 cup all-purpose flour, cornmeal, 1 teaspoon salt, red pepper flakes, and pepper in a shallow bowl or pan.
Dredge tomato slices in remaining 1/4 cup flour; dip in egg mixture, and dredge in cornmeal mixture.

Pour oil/bacon dripping to a depth of 1/4 to 1/2 inch in a large cast-iron skillet; heat to 375°. Drop tomatoes, in batches, into hot oil, and cook 2 minutes on each side or until golden. Drain on paper towels or a rack. Sprinkle hot tomatoes with salt.

Thứ Năm, 25 tháng 7, 2013

I Am the Ostrich, Coo Coo Ca Choo.


When I was in college, a group of us in Victor Garcia’s Spanish class went on a trip to Mexico – ostensibly to study the language while immersed in its culture. Fortunately for me, a lot of my closest friends, and my boyfriend, Paul, were in that group. I also had a pretty big crush on Victor Garcia. Not the kind where I wanted to get in his pantalones, but more the kind that I just wanted to be part of his life, his family. He was just so great. And his wife and son were great, too. Very happy. And, he was so attractive.

The program took place in Cuernavaca. We were all assigned and lived with ‘host’ families during the stretch of this program. There were four of us in my house. I shared a room with Carl, who, on that trip, became Ray Ray (he bought a pair of Ray Ban’s from a street vendor and later discovered that on the lens read Ray Ray’s in lieu of Ray Ban’s. The die was cast. He was forever Ray Ray.)  Ray Ray was a short, bald, black, flamboyantly gay young man. At the time I had cut my hair off (myself) into, what I thought would be, a pixie cut, and dyed it canary yellow (myself). And so, in traditional, machismo-infested Mexico, the six-foot tall girl with the cut-off jean shorts, Pac-Man tee shirt and canary yellow hair and the short bald, flamboyantly gay black man roamed the streets. We most definitely got rocks thrown at us from passengers on buses.


I will say, however, that my Spanish was great during this time - though more from hanging out and drinking beer and tequila in the bars with the locals than as a result of the program. Or maybe that was the program…

After the ‘school’ part of the trip, a core group of my friends and I split off and went rogue, exploring Mexico the way we wanted: backpacks, hostels in cities, hammocks on the beach, café con leche, homemade mescal, and a lot of bouts of Gin Rummy. Very late one night, I believe we were in Oaxaca; Amy, Paul, Mike, Ray Ray and I were sitting in our hotel room, drinking tequila, smoking and playing round after round of Gin Rummy. At some point during this evening, at some ungodly hour, we all decided to figure out our animal. We became fixated on getting them just right and spent hours doing so. Here’s what we settled on: Amy was an owl, Mike was a walrus, Paul was a koala bear, Ray Ray was a jaguar, and me – I was an ostrich. What a gyp! I couldn’t even get to be a flamingo? Nope, I was an ostrich.

It made sense, I suppose. I was very tall, awkwardly skinny, had that whole hair situation and I was certainly not the most graceful bird in the land. To be fair, I don’t think Paul was feeling very masculine about being a koala bear. But it really did fit.

Wondering how I’m going to wrap this one back around, aren’t you…


About seven or so years ago, I started going to Santa Barbara County for little trips, long days, short weekends, etc. for wine tastings and micro-getaways. I have been with a few people, and I’ve been by myself. I love the tasting rooms, the wineries, the landscape, the food, the people, the drive up and the drive back. It’s very dear to me. There is a pretty cool place in between The Hitching Post, in Buellton and the little, Danish Colony in Solvang. It’s called Ostrichland. Yes, it is. Ostrichland!

Used to be you could roll right up and see, touch, feed, and be bitten by, the birds (they have emu and ostriches). Now you have to pay. But a measly $4.95 is more than worth all that one experiences in Ostrichland. Did you know that ostriches have the ability to run at maximum speeds of 43 mph, the fastest land speed of any bird? And, the Ostrich is the largest living species of bird and lays the largest egg of any living bird!

The largest egg in all the land? I clearly had to have one. So, at about $30 a pop, I bought one ostrich egg that is the equivalent to approximately twenty chicken eggs.

Other than turning the shell of the egg into a lamp base or some such thing, what was I going to do with an egg that big? This question plagued me for quite some time. So much time, in fact, that I realized I had better do something with the egg or it would simply go to waste, and all I would have is the shell with which to make a lamp base or some such thing. I needed to move fast as y’all all know how much I loathe to waste food.

While I really did like the idea of one, ginormous deviled egg, I realized I would have to make scramble-ness with the egg if I wanted to keep the shell intact for my lamp base (or some such thing). I looked around and saw my rainbow of heirloom tomatoes and it hit me: frittata.

  
And so Fred and I went about making the most enormous frittata of all time. For the two of us. It was a really interesting process, getting the eggy insides out without compromising the shell. The dish took the better part of the morning to cook through as it was a LOT of egg. It filled an entire, large, cast-iron skillet almost to the top. I guess you could say it was really more of a crustless quiche. And it was very tasty. While I couldn’t decipher a real difference in the taste of the egg from that of a chicken egg, I will say that it was much fluffier and lighter than a chicken egg. 


And now I have the shell. I can’t imagine what on earth I’ll do with it. But I like it.

So here’s the deal; after my multiple visits to Ostrichland and bonding with its residents, I guess my animal being the ostrich is not so bad. I’m not really that gawky and lanky any more, but I’m still pretty tall. My hair is not hacked off my head in my personal attempt to resemble Mia Farrow in Rosemary’s Baby, nor is it canary yellow. I can’t run all that fast, nor do I really try. But, like the ostrich, I’m kind of goofy, kind of awkward, not very graceful, love to eat, and have my own brand of cuteness and allure. I have also been known to bite.


For the recipe below I am providing you with the recipe with the standard measurements rather than the ginormous ostrich egg version. If you would like to try this with an ostrich egg, multiply everything by four...


Heirloom Tomato & Fresh Basil Frittata


Serves 6

Ingredients

2 tablespoons olive oil
2 tablespoons butter, cubed
6 large eggs
¼ pound ground sausage
6-8 slices of red onion, very thinly sliced 3 tablespoons finely grated Parmesan cheese
3 tablespoons grated gruyere cheese
1 garlic clove, minced
1 tablespoon chopped pistou basil
Handful of green and purple basil, mixed
Sea salt and freshly ground black pepper
1 1/2 pounds ripe heirloom tomatoes (mixed colors & sizes), cut crosswise into 1/4" slices


Directions


Preheat oven to 350°.

Brown sausage in a 10-inch (2-inch-deep) ovenproof skillet over medium-high heat, stirring often, 7 to 8 minutes or until meat crumbles and is no longer pink; remove from skillet, and drain. Wipe skillet clean.

Heat oil in a large skillet over medium-high heat. Lightly beat eggs in a medium bowl. Stir in sausage, cheese, pistou basil and garlic, cubes of butter and season with salt and pepper. When oil is shimmering, pour egg mixture into pan and cook until eggs begin to turn golden brown around the edges. Arrange tomato slices, red onion cirlces and basil leaves on top of egg mixture. (Some tomato slices may sink.)

Transfer skillet to oven and bake frittata until eggs are just set in the center, 10-12 minutes. Using a heatproof spatula, loosen frittata from pan and slide onto a warm plate. Slice and serve warm or at room temperature.

Tags:Heirloom,Tomato,Fresh,Basil,Frittata

Thứ Bảy, 20 tháng 4, 2013

Caprese Flatbread


You could call it Pizza if you so fancy or even nanizza if you are feeling creative because essentially this yummy dish is nothing but classic caprese style toppings over a naan flat bread. A few moons ago I had shared a similar flat bread pizza with some classic makhani style paneer topping. Of course the choice of toppings is only limited by your imagination but for me a very good combination (when its not paneer of course) is a simple but a classic combo of tomatoes, cheese, basic and garlic. Not to mention it is much simpler to put together than a traditional pizza if you use store bought naans which work perfectly well in this preparation.
Read more »

Tags:Caprese Flatbread

Thứ Sáu, 14 tháng 12, 2012

Rasam Vada/Crisp lentil dumplings in a spiced tomato soup

This has been in my drafts folder forever. Not sure why it never made it out the door, well at least not until now. Guess I was waiting for the right moment. Talking about the right moment, these crispy dumplings soaked in the spicy soup is just perfect while you wait in the comfort of your home for that first snow, not that it ever snows here in south Florida. This dish hails from southern India but has come to be popular in all parts of the country of course with the details varying on how its done every couple hundred miles. Here I present how I like to do them. Hubs is a big fan of this and when I pulled out this recipe from my drafts, I did get to hear a mouthful on how I haven't made these for him in a while. When you take a spoonful into your mouth, while you enjoy the crispiness from the dumplings, the spicy soup kicks in and makes it just a delightful mix of flavors on your palate. The recipe is not too tricky either. It uses simple ingredients including the Rasam powder that are easily available in any Indian grocery store. And yes, if you cannot get the  donut shape right, it is perfectly okay to just shape the dumplings as regular dough balls.
Read more »

Chủ Nhật, 15 tháng 7, 2012

Pizza Hut Style Breadsticks with Dipping Sauce ~ All Homemade


Those among my readers that like to cook and experiment in the kitchen will surely agree that recreating a dish that you had somewhere just by memory and getting similar results, if not better, has that extra special kick. You get to eat what you like and can do it whenever you like without having to drive out, not to mention at a fraction of the cost. If you have followed my work, you would know I am a bread lover. Every now and then we take kiddo to our local dine-in Pizza Hut for her fix of pizza. I hit the salad bar and mostly load up on that while hubs and the little one tear open little packets of grated parmesan, sprinkle on their slice and devour it while emphatically claiming how good it was. They offer me a slice which I gladly accept. Every now and then we order a side of breadsticks as well. It would probably be no surprise to you when I say I love those. This weekend I pushed my memory a little and attempted to make them at home. Yes it a success story and a nice one at that. They came out just perfect. Light and fluffy, slightly crispy at the bottom and perfectly seasoned with cheese and spices. I had a taste and instantly knew they will be a hit. My proof came when kiddo, who never wants to eat, took one stick and walked away. Couple of minutes later she returned to the kitchen saying 'mommy can I have one more please'. I did not need to hear any more.
Read more »

Thứ Ba, 26 tháng 7, 2011

Baked Tomato, Bread Pizza & Sausage Rice 3 in 1 Recipe Challenge...:)

My challenge with my friends from facebook was to do 3 in 1 recipe...I was glad to take the challenge and had 3 packets of chicken sausage in my freezer with some corn and 2 capsicum left other ingredients were cheese tomatoes and bread. trust me i had no clue what to do with these ingredients...till last minute then i planned a menu that i always prepare and enjoy...chicken sausage is the only processed food we buy on a regular basis...

The rules for  the challenge is to use products and ingredients available at home not to shop for extra fitting ingredients for the recipe...if you want to take this challenge try to post your response i will feature you on my next blog...enjoy ..:)

This recipe can be altered as per your requirement you can leave the sausage out and add mushrooms and paneer its up to you...the chicken sausage base can be refrigerated for a weeks time and you can even prepare roti rolls using same base... 
Ingredients:
4 Chicken Sausage (cut into small pieces)
1/2 Cup Sweet Corn (steamed)
1/2 Cup Capsicum/Bell Pepper ( cut into small pieces)
1/2 Cup Onion( cut into small pieces)
3 to 4 Green Chillies (finely chopped)
3 Ripe Tomatoes
Bread slices
2 Cups Cooked Rice (preferably left over rice)
1/2 Cup Grated Cheese
1 Tbsp Butter
Italian seasoning optional 
Salt to taste.

Sausage Base:
  • Heat a wok with a tbsp of butter add onion chilies and capsicum fry the ingredients for 2 to 3 minutes till softened 
  • Add sausage and salt and fry for another 2 more minutes.
  • Add the steamed corn and fry a bit add salt and remove from flame.
  • Add 1/4 tsp Italian seasoning and mix the ingredients allow to cool before storing in and airtight container.  

Baked Tomato:
  • Make sure to choose ripe and firm tomatoes for the recipe.
  • Cut the tomato into half and scoop the seeds using a spoon.
  • Fill the sausage base into the tomato shells top it with cheese.
  • Place the tomato in microwave dish and micorwave for 5 minutes. serve as side dish for any rice items or sandwich the tomatoes in bread...Enjoy...:) 
Bread Pizza:
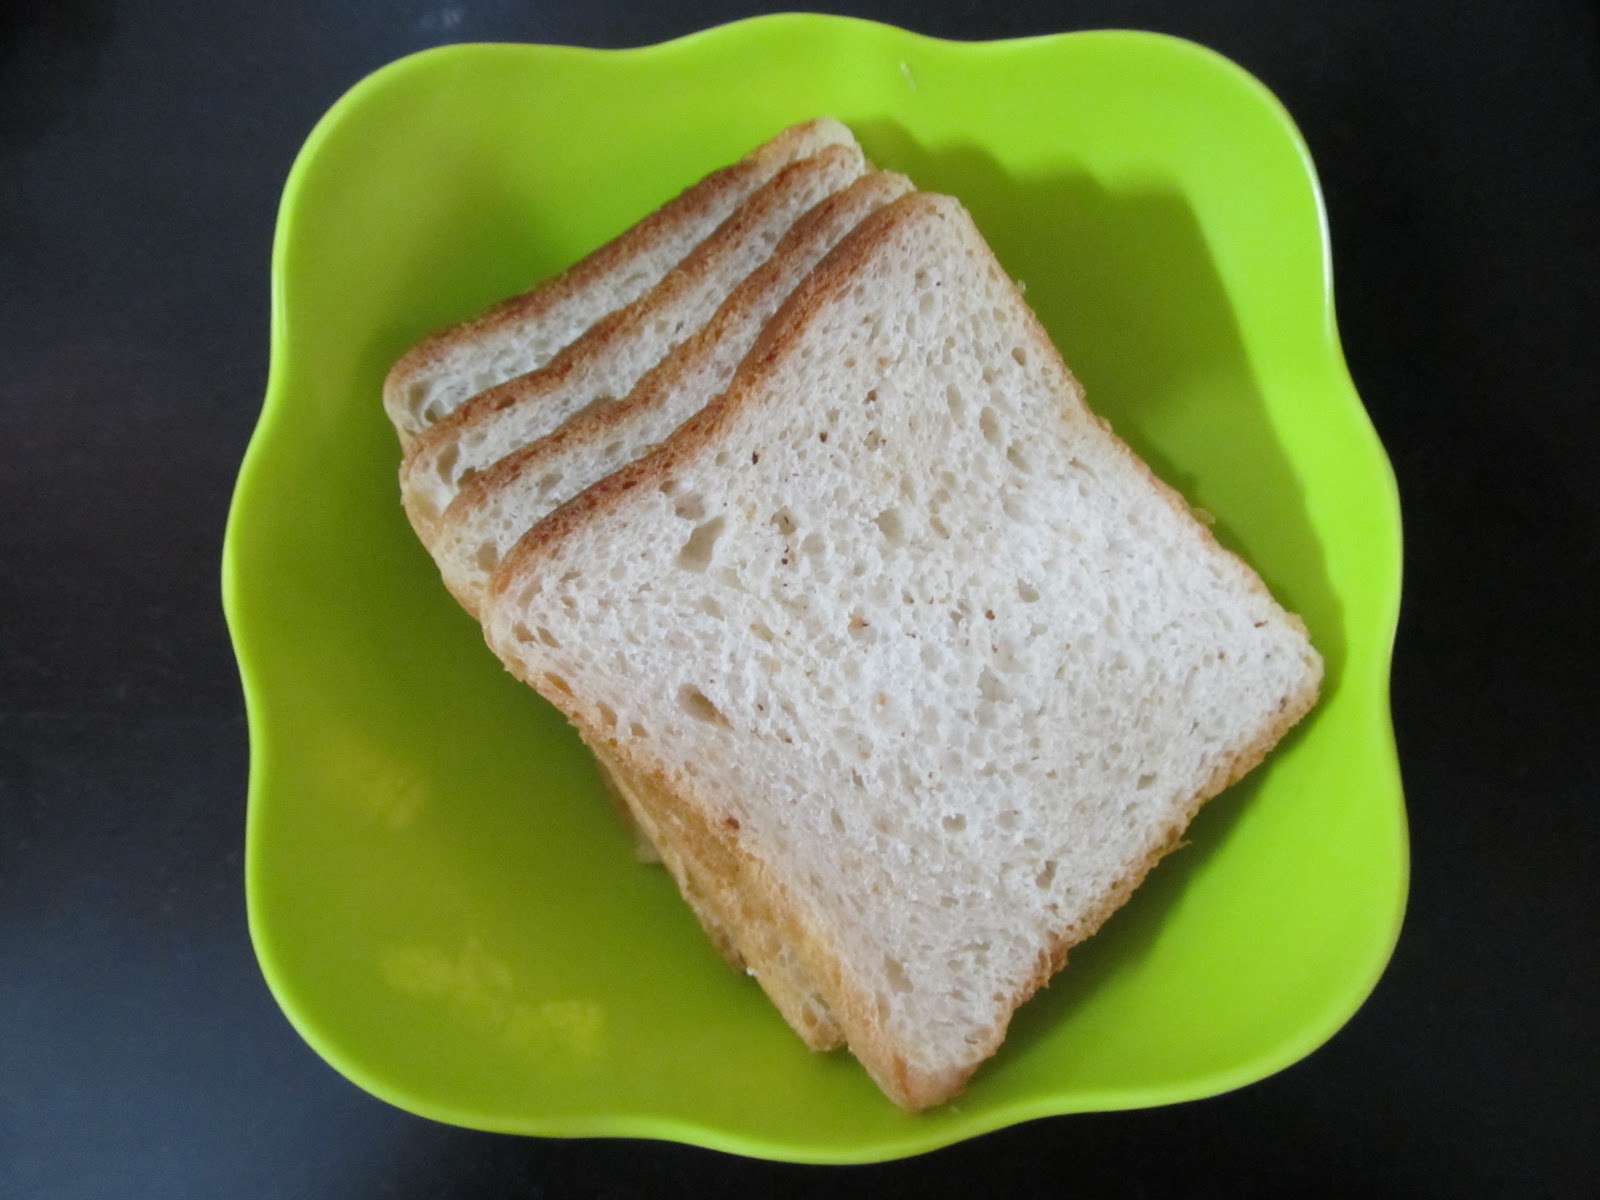
  • We would require regular white or wheat bread slices.
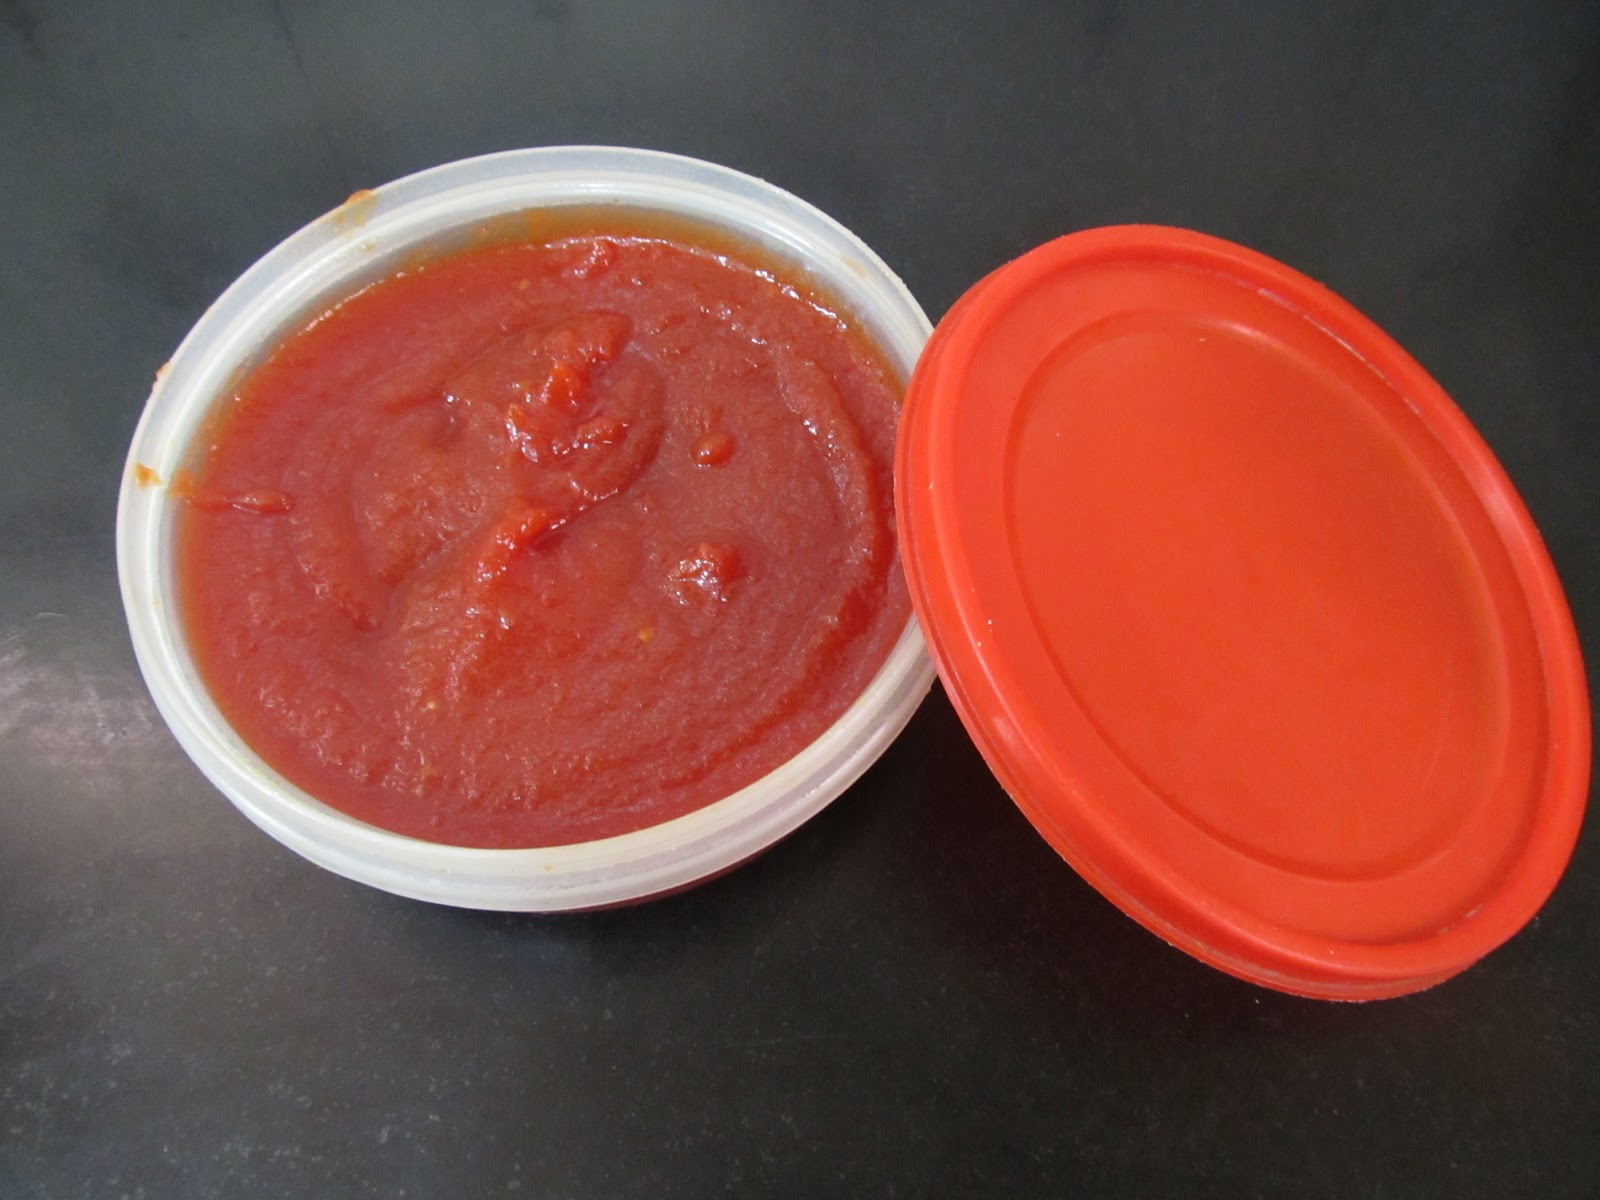
  • For Pizza sauce recipe click on the link or visit my labels marked tomato.
  • Spread the sauce on the bread add 2 spoon fulls of the base and top it with grated cheese.
  • Microwave till for 2 minutes and serve hot. I like to have a crust in bread pizza  i prefer to use regular tava/skillet to prepare bread pizza to the tava add a tsp oil and place the prepared bread and cover with lid for 2 minutes on medium flame till cheese melts and serve hot...Enjoy...:)
Sausage Rice:
  • We would require cooked rice for the recipe the process is same using the same base i have added pasta sauce you can add tomato puree and prepare the base.

  • Add cooked rice to the prepared masala and mix well and fry for 2minutes.
  • Can be served with salad or grilled chicken or eggs kids will love this lime and coriander can be added for indian touch superb for picnic and good change from our regular biryani...try it out and Enjoy...:)
Recipe demo...:)

Thứ Năm, 14 tháng 7, 2011

DIY Tomato Jam

This tomato jam recipe is very easy and nice something different from regular jams always use roma or bangalore tomato for the recipe its less sour and has lot of flesh my grandma always used to make this jam during tomato season its very nice with roti or bread...there is a sense of satisfaction when we do certain recipes rather then buying from a store try this recipe out not much ingredients used you can try preparing half the recipe and if you like it you can make it in bulk...since its only me who eats sweet products at home i prepare this recipe with 1 kilo it will easily last me for 5 months...I have tasted the same tomato jam in different variation some people add ginger, cinnamon, star anies and little bit of chilly powder its tasty but i like  it plain with out any over powering flavor if you like any of the flavors you can add to the jam.

Ingredients:
500 Grams Tomato
1 1/3 Cups Sugar
Red Food Color (Optional) I did not use food color
1/2 Tsp Sodium Benzoate
Salt
First Step:
  • Wash the tomatoes thrice.
Always buy ripe and firm tomatoes it should not have any green or yellow color and avoid buying tomatoes which have brown spots if you use such tomato you cannot preserve the jam for long...
Second Step:
  • Score the tomato.
  • Heat a pot of boiling water and add the tomatoes with in 10 mins the skin will peel remove the tomato from the boiling water and place in ice cold water or normal cold water.
  • Peel the tomato and add to the blender blend to a smooth puree.
Third Step:
  • Add the tomato pulp to a fine mesh sieve and extract the smooth puree .

Fourth Step:
  • Add the puree along with the sugar to a heavy bottom pot.
  • Place the pot on low flame.
  • Constantly keep stirring the tomato place a cover if it splutters while boiling.
  • After 20 minutes of boiling the tomato should reduce constantly keep stirring and add a pinch of salt.
  • The consistency of the tomato should go thick and when you lift the spoon the jam should resist and fall from the spoon.
Fifth Step:
  • Remove the jam from heat and allow to cool.
  • Add the sodium benzoate mix well and transfer to a plastic or glass container.
Allow the jam to rest for 2 day before use...always store the jam in glass or plastic container...
Enjoy your jam with roti or bread...try this recipe and post  your comments...:)

Do watch my video demo...enjoy...:)

DIY Tomato Ketchup

 As you all know that my previous post was tomato puree...coming series i will try to show different variations using tomato puree...east or west any where in the world people just love tomato ketchup its so simple and easy to prepare at home...try to buy roma or bangalore tomato for this recipe and make sure you dont use tomatoes with black spots or little bit of green or yellow it should be ripe and firm...this ketchup can be stored for a year in the fridge.
 Happy Days....do you know....Tomatoes Give Any Skin Type a Healthy Glow....:)
Ingredients:
2 1/2 Kilos Tomatoes 
100 Grams Sugar
100 Grams Onion
25 Grams Garlic
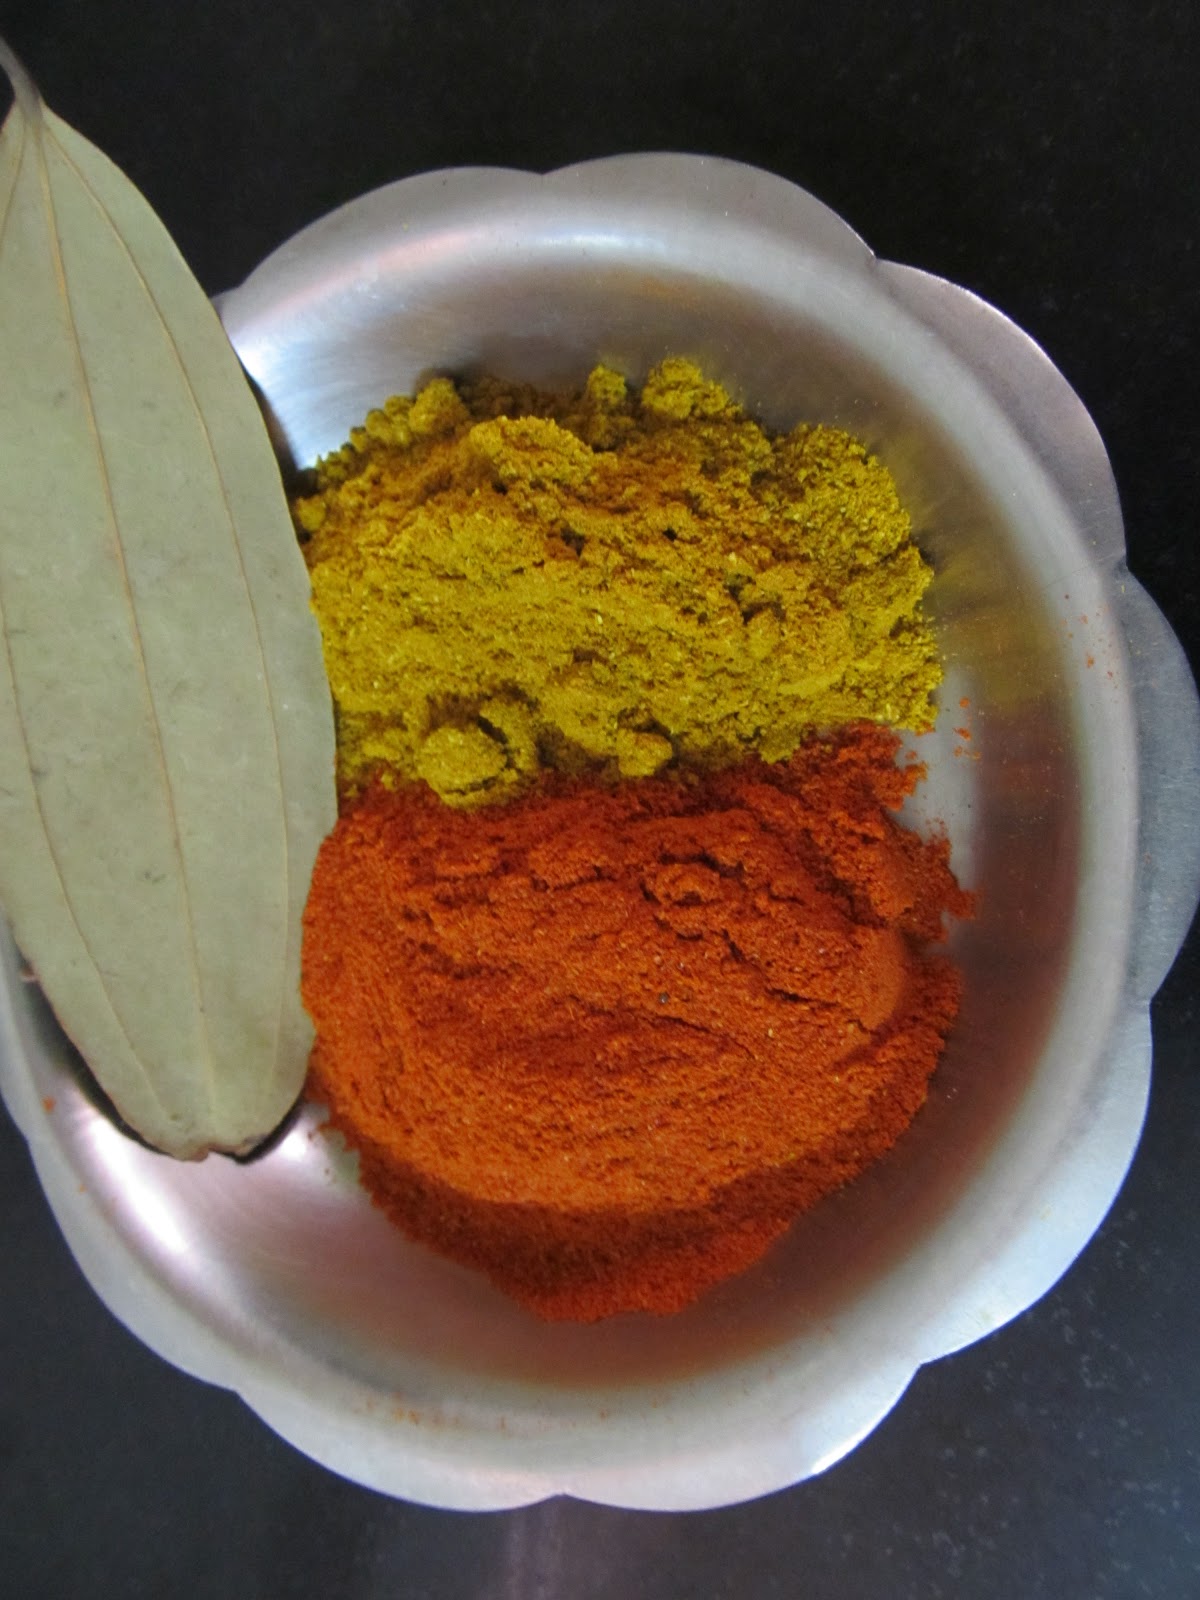
1 1/2 Tbsp Chilly Powder
1 Tbsp Garam Masala 
1 Bay Leaf
1 Tsp Sodium Benzoate
5 Grams Salt
50 ML Vinegar
100 ML Water
  • Wash the tomatoes in 2 tbsp vinegar water wash at least thrice.
  • Use ripe and firm tomato dont use tomato with spots or green color ketchup will spoil fast.
  • Use a heavy bottom pot preferably nonstick pot for this recipe.
  • Chop the tomatoes into small pieces.
  • Add garlic and onion to the chopped tomato.
  • Mix all the ingredients well add water and place a cover and allow the tomato garlic and onion to cook till well done.
  • Allow the tomato to cook till mush.
  • Add to a blender and prepare smooth puree.


  • Using a sevie strain the tomato puree remove all the seeds skin bits of garlic and onion.
  • Add the tomato puree back in the heavy bottom pan and place on low flame.


  • Add the sugar, chilly powder, bayleaf , garam masala and salt to the puree mix well and allow to boil on a low flame.
  • Place a cover if the sauce splutters.
  • constantly keep stirring.
  • After 15 minutes of constant stirring  the sauce should have reduced to 1/3 consistency.
  • Keep stirring until the sauce coats the spoon as shown in the picture.
  • Remove the bayleaf.
  • Allow the sauce to cool before adding vinegar.

  • Add vinegar to the sauce and mix well.
  • Allow to rest for another 10 minutes.

  • Add the sodium benzoate and mix well.
  • I reused the ketchup bottles.
  • Its simple to recycle and help our mother earth if you buy ketchup and chilly sauce bottles once they are empty wash with soap water and then wash the bottles with hot water and sun dry its perfect to store oil or any sauce...:)


  • Fill the bottles with ketchup and i must say this looks professional...what do say...:)
  • Store in fridge can be used even after 1year...dont wait so long serve with any snacks or burger and Enjoy...:)
I enjoy my ketchup with just potato chips some time i have a weird taste i will have ketchup with idly and dosa...I've simplified the process of ketchup making some people may not agree with my recipe but this works perfect for me and best part about this recipe is you can make more and get fancy glass jars tie a ribbon and gift to a friend or your fav teacher on teacher's day...:)

Please note do not use the ketchup for 2 days after mixing benzoate allow the ketchup to rest after 2 days you can use for any dish...dont store ketchup in steel or any other metal container it may cause chemical reaction and you may fall sick...always use glass and plastic container to store any product when your using sodium benzoate or vinegar.

Watch my demo video and try this recipe...:)